
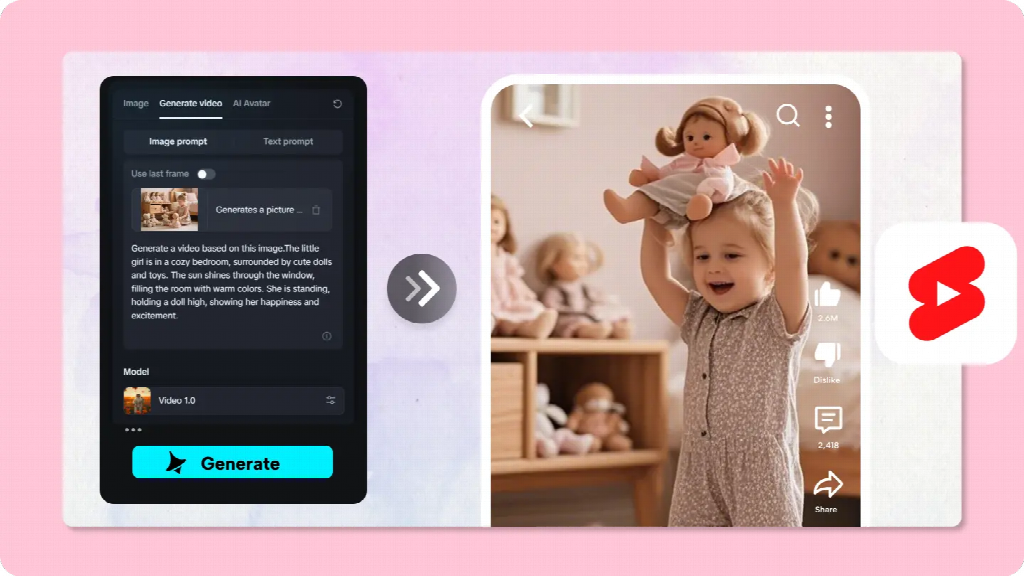


You have a useful idea, a script and perhaps even a finished voiceover. Then you reach the editing stage and discover that you have very little to show while you speak. For creators working without a camera crew or a library of footage, tools such as seedance 2.5 can help turn descriptions into short visual scenes that support a YouTube video. The trick is choosing footage that helps the audience understand the story, rather than adding movement simply to fill the screen.
Whether you are making a home-organisation video, explaining a creative project or sharing a practical guide, the right supporting shot can give viewers a moment to absorb what they are hearing. Here is how to plan those shots, create useful options and combine them with your own material.
What Is B-Roll, and Why Does It Matter?
B-roll is the supplementary footage used alongside the main material in a video. If you are speaking to the camera about planning a creative project, a shot of someone arranging notes on a table could be B-roll. In a recipe video, it might be a close-up of ingredients being prepared while the presenter explains the next step.
The main footage carries the central message. Supporting shots can show a detail, establish a setting, illustrate an example or give the viewer a change of perspective. They can also help smooth an edit between two sections of a recording.
Good B-roll is connected to what the viewer is learning. If the narration discusses choosing materials for a garden, a close-up of seed packets and a sketchbook may be useful. An attractive but unrelated mountain landscape may look nice, yet leave the viewer wondering why it is there.
That distinction becomes especially important with AI. The ability to create almost any scene can be exciting, but a video benefits from a reason behind every shot. Start by identifying the moments where a visual would genuinely add something.
Find the Gaps in Your Script
Listen to your voiceover or read your script aloud. Mark the places where you name an object, describe a setting, explain a change or introduce an example. These moments are often easier to illustrate than an abstract statement such as “planning is important.”
Suppose you are creating a video about setting up a more enjoyable reading corner. Your script might mention choosing a quiet spot, adding a lamp and keeping a book within reach. Instead of generating one long, complicated scene, plan separate shots: an empty chair beside a window, a hand switching on a lamp, and a book being placed on a small table.
A basic shot list can be as simple as three columns in your notes: the line of narration, the visual that supports it and the source of the visual. Label each shot as something you can film yourself, an image you already own or an illustrative scene you would like to generate.
This small step prevents a common editing problem: a folder full of appealing clips that do not fit the narration. It also shows where your own material would be more useful than generated imagery. A close-up of your actual book collection, for example, may bring more personality to the finished video than a generic fictional shelf.
Decide What to Film and What to Generate
Use real footage when the audience needs to see an actual person, place, product or result. If you are demonstrating how your own desk lamp works, film the real lamp. If you are reviewing a café, viewers need accurate footage or photographs of that café, not an invented interior.
Generated visuals can help when you need an illustrative setting, a visual metaphor or a scene that is difficult to capture. A video about building a reading habit might use a fictional rainy window to establish a quiet mood. A piece about creative planning could show an imagined workspace while the narration introduces the topic.
The distinction should be clear in the finished video. Do not present a generated scene as documentary footage of a real event or a particular customer’s experience. When a clip could reasonably be mistaken for evidence, identify it as an illustration or choose a different way to show the idea.
You can mix both sources. A creator explaining how they plan a week could use real footage of their planner, a screen recording of their calendar and a brief generated scene to introduce the feeling of a busy morning. The creator’s own explanation remains at the centre.
Write Prompts for Shots, Not Entire Videos
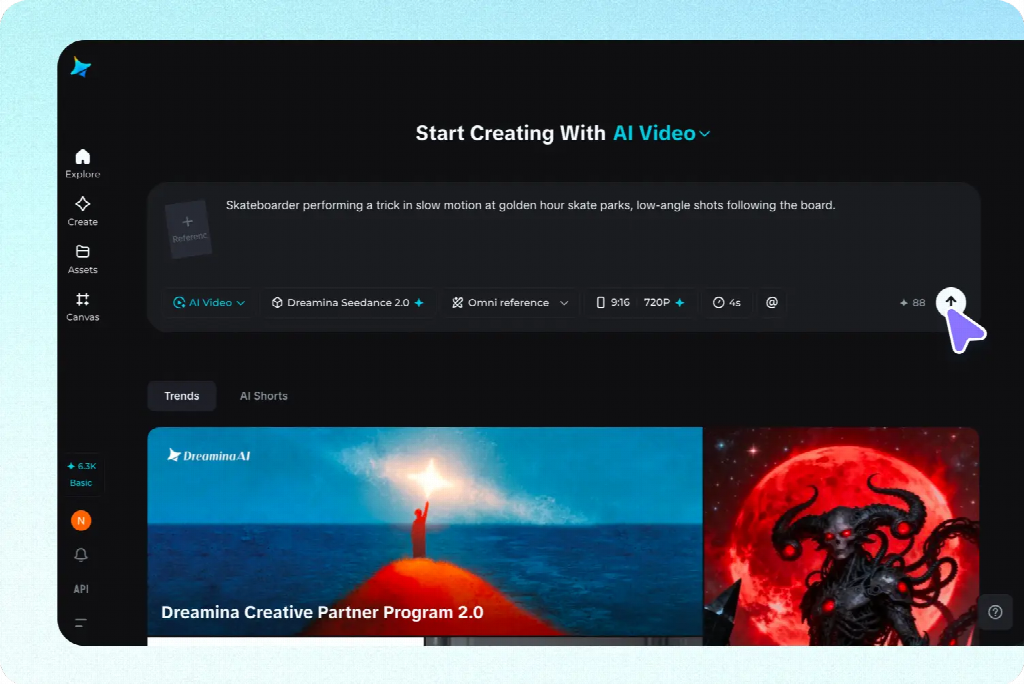
Once you know which gaps you want to fill, an ai video generator can turn a written description into a moving scene. Dreamina also supports using images as references, which can be helpful when you have an image you are allowed to use and want to explore how it might become a short clip.
A practical prompt answers five questions: What is the subject? What is happening? Where is it happening? What should the light and mood feel like? How should the camera move? You do not need elaborate film terminology; you need a description specific enough to guide the scene.
For the reading-corner example, try: “A ceramic mug rests on a wooden side table beside an armchair, soft morning light through a window, pages of an open book move gently, warm and quiet atmosphere, slow camera movement.” The resulting clip could accompany a line about making a small space inviting.
Compare that with “Make a beautiful video about reading.” The second prompt gives little direction about what the viewer should see. A model may produce something visually appealing, but it may not match the sentence you need to cover.
If the result is close but not quite right, revise one element at a time. Ask for a wider view if there is no space around the chair, or specify a stationary camera if the movement is distracting. Keep notes on the descriptions that work so you can develop a consistent approach without repeating the same experiment.
Plan for the Pace of Your Voiceover
A useful clip needs to fit the moment, not just the topic. Listen to the sentence it will accompany. If the line takes only a few seconds, a long, slow reveal may not have time to make sense. If the narration is reflective, a rapid sequence of cuts may make the video feel more hurried than intended.
Create some flexibility around each shot. A clip can often be trimmed to start after the action is established or end before the narration moves on. When generating or selecting footage, look for a clear beginning and a moment you can cut away from naturally.
Not every sentence needs a new image. If a shot continues to support what you are saying, give the audience time to take it in. Conversely, if you change topic, a new visual can help signal the transition. The edit should follow the explanation instead of forcing the explanation to follow a collection of clips.
For a longer YouTube video, you might introduce a section with a wider scene and then use closer views when discussing details. Return to the presenter, a diagram or a screen recording when the audience needs information that an atmospheric shot cannot provide.
Keep the Visuals Connected Across Different Clips
A reading corner that changes from a bright modern room to a dark antique library and then to a colourful café may make the viewer feel as though they have switched videos. If the clips are supposed to belong to the same sequence, decide on a few shared visual choices before generating them.
These could include the time of day, a warm or cool colour palette, the materials in the setting and the general pace of movement. Write those details into each prompt where they matter. For example, repeat “soft morning light” and “light wooden furniture” across several shots if those are central to the look.
Do not assume that separately generated clips will preserve every object or detail. Compare them side by side. A mug changing colour or a window moving to a different wall can make two supposedly connected shots feel inconsistent. If continuity matters, simplify the sequence, use an appropriate reference image, or separate the clips with a title card or presenter footage.
Consistency does not mean making every shot identical. A wider view can establish the setting, while a closer view shows a detail. What matters is that the changes feel intentional and do not distract from the story.
Three Ways to Use AI B-Roll in Different Videos
A home and lifestyle guide: For a video about building an evening routine, use illustrative footage of a softly lit room or a cup on a bedside table to establish the mood. Film your actual routine when demonstrating a specific habit or product. A viewer should be able to tell which parts represent your own experience.
A creative tutorial: In a video about planning a photo project, an imagined worktable can introduce the idea of gathering inspiration. Follow it with a real screen recording or photographs that show your process. If a step depends on exact settings or results, explain and demonstrate it with accurate material.
An educational explainer: A video about how ideas develop could use a sketchbook, moving paper or a changing landscape as a visual metaphor. Pair the scene with a clear spoken explanation and use diagrams or sourced images where the audience needs to understand facts. A beautiful illustration should not be treated as proof of a historical or scientific claim.
In each case, the supporting footage has a different job: setting a mood, introducing a process or helping illustrate an abstract idea. Naming that job before you generate the clip makes it easier to judge whether the finished result belongs in your video.
Check the Details Before Publishing
Watch every generated clip at normal speed and pause on the moments that matter. Look for hands, objects, text, shadows and background details that change unexpectedly or distract from the narration. If a shot is only useful after several seconds, trim it; if the action never becomes clear, try a simpler prompt.
Be careful with on-screen writing. Generated signs, labels or numbers may contain errors. Add important titles and factual information in your editing process, where you can proofread and update them. This is particularly useful for names, dates and instructions that viewers may rely on.
Use images, footage, music and other reference material you have the right to use, and check the relevant terms before publishing. Also review the rules of your chosen platform for altered or synthetic content; disclosure requirements can depend on how a video is made and what it depicts.
Finally, watch the whole video as a viewer would. Does the supporting footage help explain the point? Is it obvious when an image is illustrative? Can the video still be followed without relying entirely on the visuals? If a clip draws attention away from the message, remove it even if it took several attempts to create.
Let the Story Lead the Footage
A lack of footage does not have to stop a useful video from taking shape. Start with your script, identify the moments that would benefit from a visual, and create a small set of shots with a clear purpose. When you combine illustrative AI scenes with your own voice, knowledge and real material, B-roll can help viewers stay with the story you wanted to tell.