
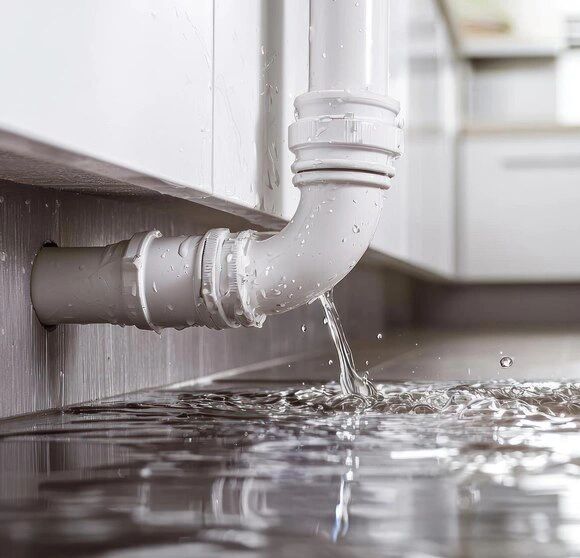


As the comforting warmth of a hot water system is a vital component in any home, experiencing a leak can throw a household into chaos. Not only does it disrupt daily routines, but it also poses potential property damage and increases water bills. Understanding how to effectively fix a leaking hot water system is not just a matter of convenience, but rather a necessary skill to maintain the integrity and efficiency of a home’s plumbing infrastructure.
Identifying Common Causes of Leaks
Before diving into the repair process, it’s essential to identify the root cause of the leak. Common reasons for a leaking hot water system typically involve worn-out components, corrosion, or faulty connections. Recognising the specific source of the problem will streamline the repair and ensure a more permanent fix.
Worn-Out Temperature and Pressure Relief Valve
One frequent cause of a leak in a hot water system is a faulty temperature and pressure relief (TPR) valve. This valve is designed to release water if the system becomes too hot or is under too much pressure. However, over time, wear and tear can compromise its functionality, causing water to leak continuously. Inspecting the TPR valve is a good starting point when diagnosing a leaking system.
Corroded Tank
A hot water tank that is nearing the end of its service life is often susceptible to corrosion, especially on the inside where it can go unnoticed until it’s too late. Rust and sediment accumulation can puncture the tank, leading to leaks. Monitoring the tank’s condition regularly can prevent unexpected failures.
Loose or Faulty Connections
It’s not uncommon for connections and fittings to become loose over time. Situations involving fluctuations in temperature and pressure can exacerbate this issue. Identifying and tightening these connections might be all that is needed to remedy a leaking system.
Tools and Materials Required
Before attempting repairs, gathering the necessary tools and materials is crucial for both safety and efficiency. Common tools you might require include a wrench, pipe tape, a bucket, and replacement parts like valves or connectors. Ensuring you have all required materials in advance prevents unnecessary interruptions during the repair process.
Step-by-Step Repair Guide
Step 1: Turn Off the Power Supply
Safety cannot be overstressed when dealing with a hot water system. Start by turning off the electricity supply to the heater. For gas heaters, shut off the gas supply. This precaution minimises the risk of injury or further damage during repairs.
Step 2: Drain the Hot Water Tank
To address and repair a leak, it’s often necessary to drain the tank. Attach a hose to the tank’s drain valve and direct the water to a safe and appropriate drainage point. Open the drain valve and let the water flow out until the tank is empty. This step will allow you to inspect and repair the interior and connections better.
Step 3: Inspect the TPR Valve and Connections
With the tank drained, examine the TPR valve closely. If it’s the source of the leak, replacing this component might be necessary. Additionally, check all pipe connections for signs of wear, corrosion, or looseness. Tighten any loose fittings and replace damaged sections as required.
Step 4: Address Corrosion Issues
If the leak originates from corrosion, the solution might involve replacing components or, in severe cases, the entire tank. Consider installing a new anode rod to reduce future corrosion. Consult the manufacturer’s instructions or seek professional advice if unsure about handling corroded elements.
Step 5: Refill the System
After addressing the cause of the leak, it is time to refill the hot water system. Ensure that all repaired connections are secure. Close the drain valve, remove the hose, and open the cold water intake valve slowly to allow the tank to fill without creating airlocks. Monitor for any persistent leaks during this process.
Step 6: Restore Power and Test the System
Once the tank is refilled, restore the power or gas supply. Vigilantly observe the system as it heats up to ensure the leak has been fully resolved. Listen and look for any signs of malfunction or additional leaks.
Preventative Measures for Long-Term Maintenance
While addressing immediate leaks restores function, adopting preventative measures can prolong the life of your hot water system. Regular inspections, flushing the tank to remove sediment, and replacing ageing components proactively will contribute significantly to avoiding future leaks.
Scheduled Maintenance
Implementing a maintenance schedule, possibly annually, helps to catch potential issues early. During these checks, include inspecting the anode rod and testing the TPR valve to ensure they function optimally.
Water Softeners and Filtration Systems
Installing water softeners or filtration systems can further prevent sediment build-up and corrosion. Reducing mineral content in water drastically decreases the wear on the hot water system’s internal components.
Conclusion
Understanding how to approach and fix a leaking hot water system not only resolves immediate issues but also equips homeowners with the knowledge needed to avoid future troubles. By taking preemptive measures such as regular maintenance and inspections, the longevity and efficiency of the hot water system can be enhanced, ensuring consistent and safe water heating for years to come.